I’ve been running a pfSense router on a small form-factor PC for a few years and have been happy with my setup. What I don’t like though is that the PC is relatively loud and draws way more power than is necessary to meet my routing needs. As part of a recent move I thought I would take advantage of the opportunity and dig out my old Soekris 4801 and try it out as my router instead.
Following are the steps I took to turn my net4801 into a pfSense router and the resulting speedtest returns.
The Box
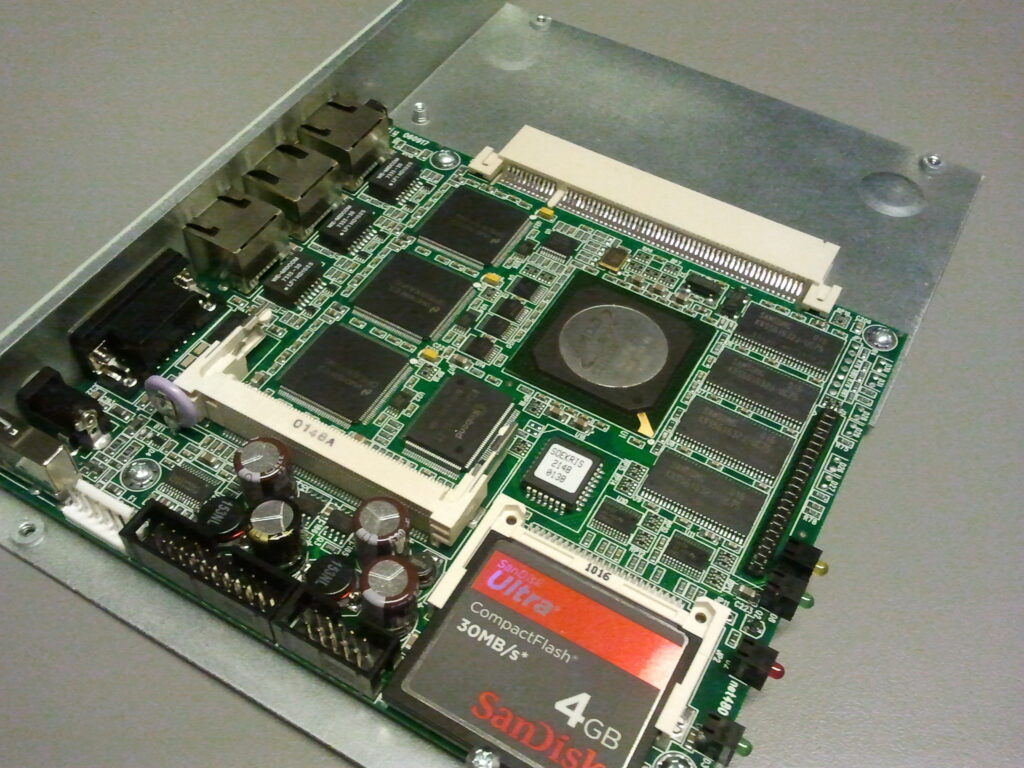
In case you don’t know, the Soekris net4801 is a compact, low-power, low-cost, computer based on a 233 Mhz 586 class processor. My box has three 10/100 Mbit Ethernet ports, 256 Mb SDRAM main memory and a 4Gb CompactFlash card plugged into the main board.
Flashing the CF Card
The first thing we need to do is grab a copy of the image we want to burn to our CF card. I grabbed a copy of the latest embedded platform build for i386 for 4g cards (pfSense-2.1.4-RELEASE-4g-i386-nanobsd.img.gz).
Next we need to extract the image and burn it to our card. This is an easy process regardless of platform, but I happened to be on a Mac when I downloaded the image so those are the steps I’ll provide:
-
- Double-click the downloaded gzip in Finder and it will extract the image file to pfSense-2.1.4-RELEASE-4g-i386-nanobsd.img
- Insert the CF Card and unmount the Volume – Your volume name may be different. If in doubt, Google it!
sudo diskutil unmount /dev/disk2s1
-
- Write the image to the card
sudo dd bs=512000 if=pfSense-2.1.4-RELEASE-4g-i386-nanobsd.img of=/dev/rdisk2
This process will take a while so don’t be in too big of a hurry.
Booting Up
Now you’re ready to install the CF Card back in the 4801 and boot up. Some sites claim that the image will just work and the Soekris box will boot right up. That, however, was not my experience.
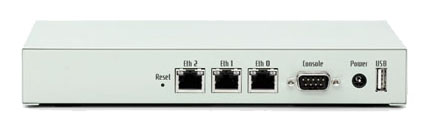
In order to find out what was going on I needed a way to view the device console. Since the Soekris box doesn’t have a VGA, DVI or HDMI port, I had to dig through my stash to find some parts to connect to the old-style serial console port. The Soekris box has a male DB9 serial port for its Console. No computer made in the past five years or so has a DB9 serial port. I needed to find an old computer with a serial port or buy a Serial to USB adapter.
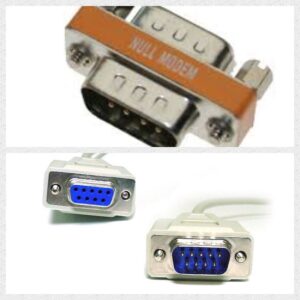
I grabbed the first desktop I could find and was lucky enough to find a serial port on the back. Like the Soekris, this port was also a male DB9 style interface. Next I started searching for cables. I found two male to female DB9 cables and a null-modem adapter – PERFECT!
I set up my computer and booted it up and was pleased to see an old Ubuntu server installation. A couple of guesses for the ID and Password and I was in. Next step was to connect the null-modem adapter between the two cables and then connect one end of the resulting cable to the Soekris and the other to the Linux PC. I then fired up a copy of screen and rebooted the Soekris:
screen /dev/ttyS0 9600
At this point the pfSense software started its configuration routine. I won’t cover the details here other than to say that I defined my WAN, LAN and OPT1 ports and configured DHCP for the LAN interface. Once this was complete I was able to access the web interface via a browser.
The Test
Before I tried out the new Soekris box I ran a Speedtest as a baseline.

I then plugged my WAN and LAN connections into the Soekris box and ran the test again.

I wanted to ensure that my results were accurate so I proceeded to run the tests a few more times just to be certain that the results were consistent. A number of runs on each server showed that the results were very close each and every time.
Conclusion
Ultimately the loss in performance (degradation ranged from 53% – 57%) meant that the Soekris was not a viable replacement option for my small form-factor PC which has more memory, faster NICs and a better processor. I think I’ll opt for a VK-T40E pfSense hardware appliance which has an AMD G-T40E Processor with 2 CPUs and 4Gb of SDRAM and should provide equal or better performance than my existing PC based router.
Until next time – GEEK OUT!
~GT~
Great description. I have the same one. But unfortunately the link to download image is not working and on the site https://www.pfsense.org/download/ is not available option i386.
Any idea where to get i386 nanobsd serial image?